
This tutorial will show you how to remove a background from an image. This is an important step when creating an animated GIF, or a button for a web page. For some examples of a few animated GIF's i've made using this technique, just click here.
I am assuming that you have at least version 5 of Adobe Photoshop installed. As well, I assume that you have enough computer skills to be able to follow these simple directions. If you have problems opening files and checking your e-mail, then you will have problems with this tutorial. In that case, get a friend to sit beside you while you do this. I'm not going to be answering e-mails from every person that can't figure out how to save a picture from a webpage.
Start by loading Photoshop with the picture below.

That picture has a background that is easy to work with since it's all one colour. As well, i have saved it in GIF format so the image is already in Indexed Colour mode (more on that later). In order to remove the background, first we will select it. Use the magic wand tool to select the background by clicking on it. That's right, just click the red area with the wand. This is what the magic wand looks like.
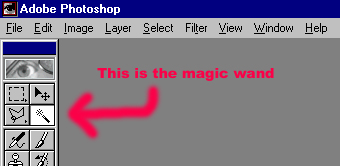
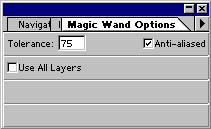
On a small side note, double click the magic wand in the tool box and a small window appears. In it you can set the sensitivity of the wand. I find mine works nice at 75. Change the number as you desire, and then close that window.
To get the little spots of red from inside the logo, just hold down the SHIFT key and click on the additional areas. If you need to get in a tight spot, use hold the CTRL key and hit the plus (+) or minus (-) keys on the keypad to zoom in or out.

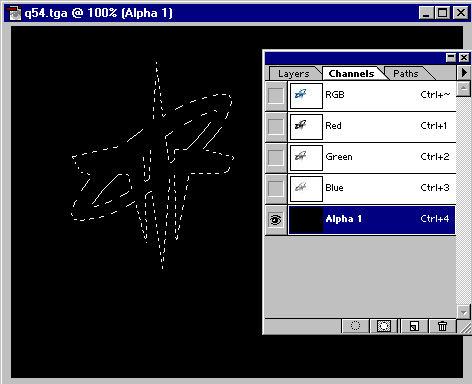
Now that you have selected all of the background colour that you do not want to remain, press the Delete key on the keyboard, and the selected areas will disappear. The next step is to select the logo image, which is exactly the opposite of what you currently have selected. To do this, choose Inverse from the Select menu (see image below).

If you don't have the "Channels" box open, you can make it visible by clicking Windows/Show Channels. At this point, the channels window should be open with the channel tab clicked. As well, the image should have the logo selected. To proceed, click the little arrow in the right corner of the channels box and a pop up will appear.
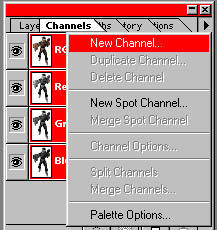
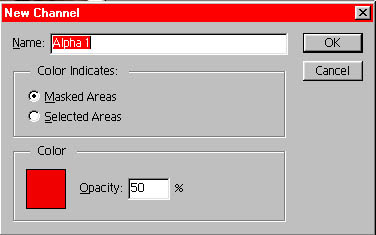
Click the first item in the list called "New Channel...". A pop up window appears like the one shown below. It will be asking you what the name is going to be, and a bunch of other stuff. Just leave the settings in their default settings and click the "OK" button.
Clicking that will have added a new channel (kinda like another layer) to your picture. It will now look like this:
We are almost done. Now you just need to fill the selected area with white. To do this, just click "Edit/Fill..." from the menu. A small pop up window will appear like this one:
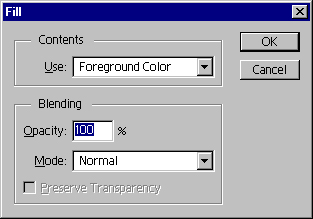
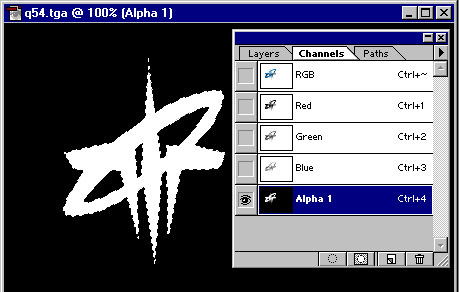
Once again, don't worry about what it says, just click "OK", and it will fill the center of the image with white. Your image should now look kinda like this:
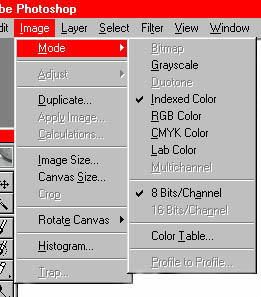
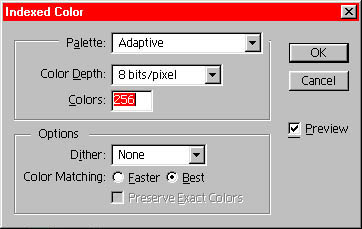
The image is almost ready to go. You're only a few steps from being done. Now we will need to convert this image from it's current format (jpeg format) to the GIF format. To do this, you will change it from the RGB mode to the Index mode. Confused? Just follow these easy steps. Click "Image/Mode/Indexed Colour" in the menu. It currently has RGB checked on. You just need to check Indexed Colour.
A small pop up window will appear. If didn't already guess, i'll tell you again - Just click "OK". Leave the settings in their default positions.
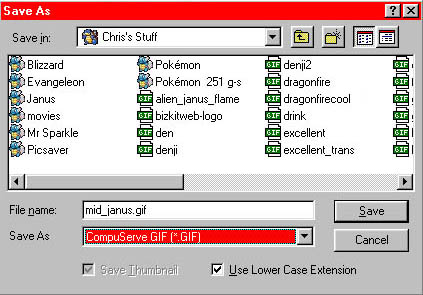
Now you have converted it to a file format that allows you to save it as a GIF. Just click "File/Save As..." and you will be prompted to pick a file name and location. Make sure you change the file format to "CompuServe GIF (*.GIF)". Did you read that? Make sure it's saved as a GIF file!
You are now done. You have just created an image that has a clear background. You can exit and re-open the image in Photoshop, or just drag and drop the image onto Netscape to verify your work.

That's it. You're all done. What you do with it now is up to you. I recommend that you practise doing this a few more times.
| back to top of page |